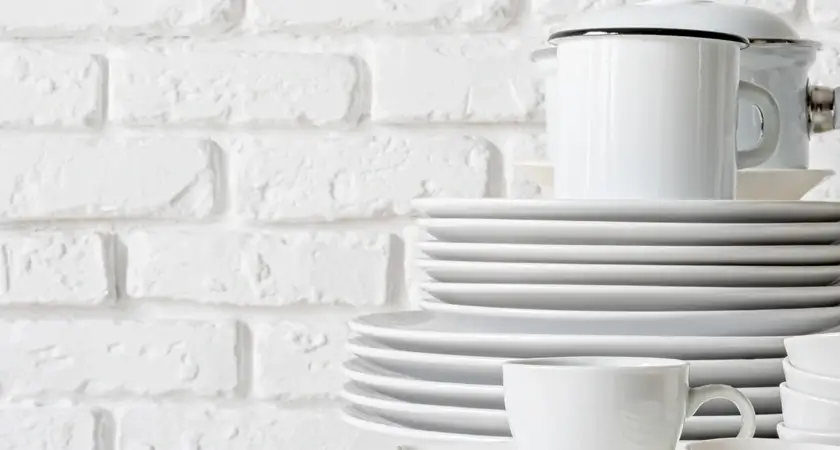
How to Pack Plates, Bowls & Glasses for Moving

Packing fragile items like plates, bowls, and glasses can be stressful. A chipped dinner plate or a shattered wine glass — especially one with sentimental value — can put a damper on your big day.
Thankfully, with the right techniques and materials, you can keep these breakables safe during the move.
The Essentials to Pack Plates, Bowls & Glasses
Using the right packing materials dramatically reduces the risk of damage.
Materials You’ll Need
- Sturdy moving boxes: Medium-sized boxes are ideal for packing kitchenware.
- Packing paper: Soft, ink-free paper is best for cushioning items.
- Bubble wrap: Adds an extra layer of protection for fragile objects.
- Foam or dish inserts: Optional but helpful for further dividing items.
- Packing tape: Strong tape to secure the boxes.
- Permanent marker: For labeling “Fragile” on your boxes.
Avoid using newspaper to pack directly around your plates and glasses. The ink can transfer and stain your items.
Step-by-Step Guide to Packing Plates
Plates are among the easiest items to break. Here’s how to pack them safely:
Step 1: Create a Soft Base
Line the bottom of your box with crumpled packing paper or a layer of bubble wrap. This acts as a shock absorber in case the box is dropped.
Step 2: Wrap Each Plate
- Lay out a sheet of packing paper.
- Place the plate in the center and fold each corner of the paper over the plate until it’s fully wrapped.
- For extra safety, wrap larger plates with an additional layer of bubble wrap.
Step 3: Stack Plates Vertically
Instead of stacking plates flat, place them on their sides like vinyl records. Plates have less surface area exposed when stored this way, reducing the chance of breakage.
Step 4: Add Dividers Between Plates
Use cardboard dividers or place bubble wrap sheets between each plate for added protection.
Step 5: Fill Gaps in the Box
Stuff any remaining gaps in the box with crumpled paper or foam peanuts. This prevents plates from shifting during transport.
Step-by-Step Guide to Packing Bowls
Bowls may seem easier to pack, but their curved edges are just as prone to chipping.
Step 1: Protect the Base
Start by lining your box with crumpled paper, similar to packing plates.
Step 2: Wrap Each Bowl
- Place a sheet of packing paper flat on your table.
- Put the bowl in the center, fill it with crumpled paper for internal support, and then wrap it fully by folding in the paper corners.
Step 3: Nest Bowls Together
For bowls of similar size, you can “nest” them by stacking one inside the other with a layer of paper or bubble wrap in between.
Step 4: Position Bowls Vertically
Like plates, bowls should also be placed on their sides rather than stacked in a flat pile.
Step 5: Secure the Box
Once your bowls are packed, fill any extra space with cushioning material and tape the top securely.
Step-by-Step Guide to Packing Glasses
Glasses, wine goblets, and mugs are some of the most delicate items in your kitchen, requiring extra care.
Step 1: Wrap the Stem (if applicable)
For stemware like wine glasses, start by wrapping the fragile stem with a few layers of packing paper.
Step 2: Wrap the Glass
After securing the stem, take a new sheet of packing paper or bubble wrap and wrap the glass like a burrito. Tuck in the edges. Do not eat.
Step 3: Pack Glasses Upright
Always stand glasses upright in the box — never lay them flat. This maintains their structural integrity during the move.
Step 4: Use Dividers or Foam Inserts
To minimize contact, place foam inserts or cardboard dividers between glasses. For extra security, invest in boxes specially designed for stemware and glasses.
Step 5: Cushion the Box
Fill all gaps with crumpled paper to prevent glasses from shifting while in transit.
Tips for Labeling & Organizing Boxes
Labeling your boxes is just as important as packing them correctly.
- Write “FRAGILE” in large, bold letters on multiple sides of the box.
- Indicate the room the items belong to, such as “Kitchen.”
- Mention the contents, like “Plates and Bowls” or “Glassware.”
- Use color-coded labels if you’re organizing items for multiple rooms.
FAQs: Packing Plates, Bowls & Glasses
Q: Can I reuse old boxes to pack kitchen items?
Yes, but only if the boxes are sturdy and in good condition. Weak or damaged boxes may not provide adequate protection during the move.
Q: Should I use towels or clothing as padding?
While towels and clothing can provide some protection, they don’t offer the same level of cushioning as packing paper or bubble wrap.
Q: How many layers of paper should I use to wrap a plate or glass?
Typically, one or two layers of packing paper should suffice for each item, but use extra layers for expensive or sentimental pieces.
Q: How much weight should I pack in a single box?
Keep boxes under 30 pounds to make them easier to carry and reduce stress on the box’s structure.
Q: Are dish packs worth the investment?
Yes, dish packs are designed for fragile items. They have partitions and cushioning to keep them secure.
Q: Is it better to pack items yourself or hire professionals?
If you’re confident in your packing skills, you can do it yourself to save money. Otherwise, experts can ensure your items are packed professionally.
Q: How far in advance should I start packing my kitchenware?
Start packing non-essential kitchenware (like surplus plates or glasses) 2–3 weeks before your move. Leave daily-use items for the final week.
Q: Should I pack kitchen items with other belongings?
Packing kitchen items separately from other household items is best to minimize the risk of damage. Consider labeling and packing them in a separate box or container for easy unpacking.
More Moving Tips

0 Comments